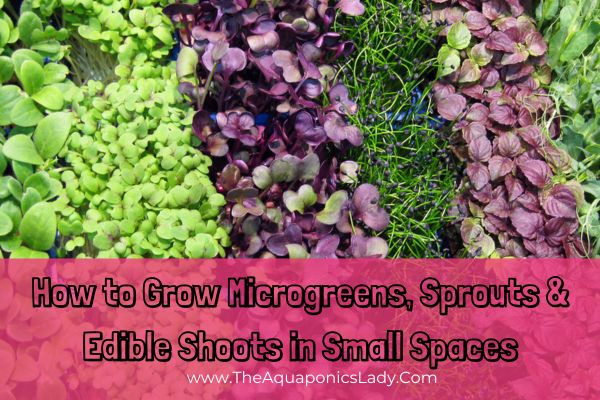
How to Grow Microgreens, Sprouts and Edible Shoots in Small Spaces

If you’ve ever wanted to grow your own food but don’t have much space — or patience — microgreens and sprouts might be your new best friends.
They grow quickly, take up very little room and can add fresh flavour, colour and variety to everyday meals. Even if you’ve never gardened before, some varieties can take you from seed to harvest in less than two weeks — all from a bright windowsill or compact indoor growing space.
Whether you live in an apartment, have a small balcony, or just want quick, fresh greens between bigger harvests, this is one of the easiest ways to bring life into your kitchen.
Get started with a small at-home aquaponics system.
What’s the difference between sprouts, microgreens & shoots?
People often use the terms interchangeably, but they’re slightly different stages of growth — and each has its charm.
Sprouts
Sprouts are seeds germinated in water and harvested after just a few days, before they form leaves.
They’re grown completely without soil and are eaten whole — root, stem, and all.
Common examples: alfalfa, mung beans, lentils, radish, and broccoli seeds.
Sprouts are crisp and juicy, making them a popular addition to salads, sandwiches and cooked dishes.
Microgreens
Microgreens are grown in a shallow tray of seed-raising mix or another suitable growing medium. Depending on the variety, they are usually harvested around 7–21 days after germination, once the seed leaves have opened and the first true leaves are beginning to appear.
You snip them just above the base, leaving roots behind.
Popular microgreens include sunflower, pea, radish, mustard, kale, basil and coriander.
They’re colourful, full of flavour and can provide a range of vitamins, minerals and plant compounds.
Edible shoots
“Shoots” is a broader term used for the tender young stems and leaves of edible plants. Some, including pea shoots, may also be sold as microgreens depending on when and how they are harvested.
Shoots are generally allowed to grow taller and develop more leaves than very young microgreens. Pea shoots, snow pea shoots and young herb shoots can add fresh flavour and texture to salads, soups, stir-fries and other meals.
Get advice on how to start a herb garden.
Watch the video to find out how to set up a small aquaponics system:
How to grow microgreens at home
You’ll need:
A shallow tray (or recycled container with drainage holes)
Seed-raising mix or coconut coir
Seeds suitable for growing as edible microgreens, rather than chemically treated garden seed
A spray bottle for gentle watering
A second tray or cover for the germination stage
Clean scissors
A clean tray beneath containers with drainage holes
Steps:
Fill your tray with a few centimetres of mix and level it out.
Sprinkle seeds densely across the surface — they don’t need much space.
Lightly cover with a thin layer of mix or press them gently into the surface.
Mist gently after sowing, then cover the tray during the initial germination period. Check it daily and keep the growing medium evenly moist but never waterlogged. Once the seedlings are established, watering from beneath the tray can help keep the leaves drier and reduce the chance of mould.
Once sprouted, uncover and place in bright, indirect light (a sunny windowsill works well).
Keep them moist, but not soaked, and harvest once the seed leaves have opened and the first true leaves begin to appear.
Use clean scissors to snip the stems just above the growing medium. Wash them gently under clean running water, dry them well and use or refrigerate them promptly.
Is it mould or root hairs?
Many beginners mistake the fine white root hairs around newly germinated microgreens for mould. Root hairs usually cluster closely around individual roots and become less visible after watering. Mould is more likely to spread across the growing surface and may look web-like, fuzzy or slimy. If the tray smells musty or unpleasant, discard it rather than eating the greens.
Watch below to find out how to build a small aquaponics system on a budget:
How to grow sprouts
You’ll need:
A thoroughly cleaned glass or food-grade sprouting jar
A clean mesh sprouting lid
Seeds specifically sold for edible sprouting
Clean drinking water
Steps:
Follow the soaking directions provided for your chosen seed variety, as soaking times can differ.
Drain the seeds and rinse them thoroughly with clean water.
Invert the jar at an angle so excess water can drain and air can circulate.
Rinse and drain the seeds at least twice a day, making sure water does not pool in the jar.
Keep the jar out of direct sunlight and away from excessive heat.
Once the sprouts are ready, rinse and drain them thoroughly, then refrigerate them promptly in a clean container.
Many varieties are ready within three to five days, although the exact timing depends on the seed and growing conditions.
Growing sprouts requires very little equipment, but careful hygiene and thorough drainage are essential.
A quick note about sprout safety
Because sprouts are grown in warm, damp conditions, harmful bacteria can sometimes multiply during the sprouting process.
Always use seeds specifically sold for edible sprouting, clean your jar and equipment thoroughly, rinse with clean drinking water and allow the sprouts to drain completely between rinses. Refrigerate them promptly once they are ready.
Raw sprouts may not be suitable for pregnant people, young children, older adults or anyone with a weakened immune system. Cooking sprouts thoroughly is the safer option for people at greater risk of foodborne illness.
See how aquaponics and gardening can help with mental health:
Lighting tips for microgreens
Microgreens love bright light but not scorching heat.
Once the seedlings have emerged, move them into bright light. A well-lit windowsill may work, but watch for harsh afternoon sun and heat building up behind the glass. If the plants become pale, weak or stretched, they may need stronger or more consistent light.
During darker weather, an LED grow light can provide more consistent growth. Follow the manufacturer’s recommended hanging distance and use a timer to provide approximately 12–16 hours of light each day, allowing the plants a period of darkness overnight.
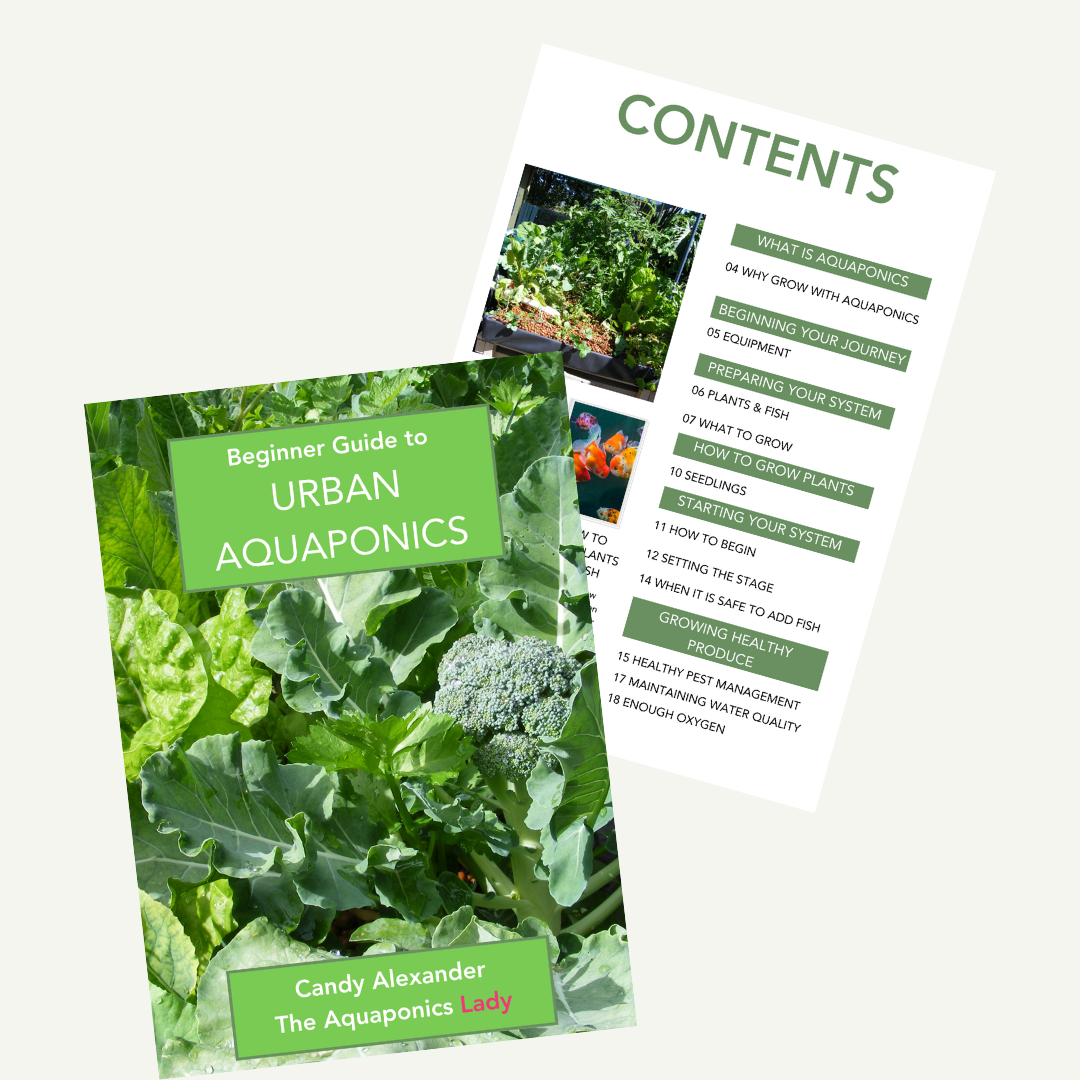
Get your free copy of the Urban Aquaponics eBook that helps you identify if aquaponics is for you, and some basic information to help you get started on your journey
Get inspired to start your journey, today.
Get your Free copy HERE
Can you grow microgreens hydroponically or in aquaponics?
Microgreens can be grown without soil by using suitable fibre mats, mesh trays or other food-safe growing media. Hydroponic systems can make watering easier and allow trays to be produced in a compact space, but good drainage, airflow and hygiene are still essential.
Some experienced growers also experiment with microgreens in aquaponic systems. However, seedlings should not simply be placed in deep water, and any equipment used for greens that will be eaten raw needs to be kept clean.
Aquaponic water should not be assumed to make microgreens grow faster or produce safer food. The results will depend on the plant variety, system design, water quality, temperature, light and growing method.
For beginners, growing microgreens in a clean tray with fresh seed-raising mix or a food-safe growing mat is usually the simplest place to start.
Check out the best plants to grow in a small aquaponics system.
Small Crops, Quick Rewards
Microgreens and sprouts are the definition of instant garden gratification.
They’re fast, fresh, and forgiving — a small daily reminder that you don’t need a backyard to grow something nourishing.
Whether you’re snipping basil microgreens from a windowsill, harvesting pea tendrils from a tray or experimenting with soil-free growing, these tiny plants prove that big growth can start small.
Learn More About Aquaponics
Check out the COURSES page to learn how you can get started with aquaponics now. Click HERE.
Want to get your Eyes and Hands on the FREE Online Aquaponics Essentials Course?
This is a great free resource to really understand how aquaponics is a sustainable ecosystem that will grow your organic food is a productive way.
You learn how all the 'parts' make up the 'whole', and helps to give you the foundations of understanding aquaponics.
Sign up HERE
Check out My YouTube Channel 'Candy The Aquaponics Lady'
Aquaponics is an ecosystem, and with anything it takes time to learn how it works. So, sit back and binge watch my 'how to' playlist and the 'Water Quality Made Simple' Playlist, and learn the next steps in your aquaponics system as you create the ecosystem.
Here are the next 2 videos I recommend you watching to create your ecosystem ~ before you add any fish
How Aquaponics Works as an Ecosystem
Why Aquaponics is the best, and most sustainable form of gardening in small spaces
Learn More About Aquaponics
Check out the COURSES page to learn how you can get started with aquaponics now. Click HERE.
Want to get your Eyes and Hands on the FREE Online Aquaponics Essentials Course?
This is a great free resource to really understand how aquaponics is a sustainable ecosystem that will grow your organic food is a productive way.
You learn how all the 'parts' make up the 'whole', and helps to give you the foundations of understanding aquaponics.
Sign up HERE
Want to help out and Feed my Fish?? (They don't drink coffee)

Candy Alexander is a dedicated aquaponics enthusiast with a wealth of formal training in aquaculture. Over the past 15 years, Candy has been deeply immersed in both commercial and backyard aquaponics, honing her skills and expertise in this sustainable farming method.
Candy's passion lies in making aquaponics accessible to everyone. With a mission to simplify aquaponics, she believes that anyone can embark on this sustainable journey.
She encourages those new to aquaponics to "kick the tires" without a significant financial investment. Her guidance focuses on helping people start their aquaponics journey with small-scale systems, ensuring a low barrier to entry for newcomers.
Candy shares practical tips, step-by-step guides, and personal stories to inspire and guide readers on their aquaponics adventure. Whether you're a seasoned farmer or a curious beginner, Candy Alexander is your go-to source for simplifying aquaponics and fostering a sustainable gardening experience.


